Artificial identities · Lyfera · 2026-11-15
How to outpaint an AI image without changing the subject
Extend an image beyond its original border, blend the join and check that the subject has stayed unchanged.
To extend an image while keeping its subject unchanged, place the original at full size on a larger canvas and keep it on its own layer. Generate the extra space on a separate layer, then use a mask to blend the join along the background. Before export, compare the combined image against the aligned original inside the area you intended to protect.
Outpainting generates new image content beyond an existing border. It can turn a portrait into a wider composition while keeping the figure at the same size. A study on edge-guided image outpainting describes the problem of carrying spatial structure from the source into an unknown area. The imagined extension has to make sense beside what is already visible. A wider canvas does not tell you what was beyond the original frame.
Decide which edge to extend
Start with the delivery dimensions and a reason for the extra space. Suppose your source is 1,200 by 1,440 pixels and you need a 16:9 canvas at the same height. Set the new width to 2,560 pixels. That leaves 1,360 pixels of additional horizontal space. Distribute it according to where you want the subject to sit in the final frame. Avoid enlarging the person just to fill the new width.
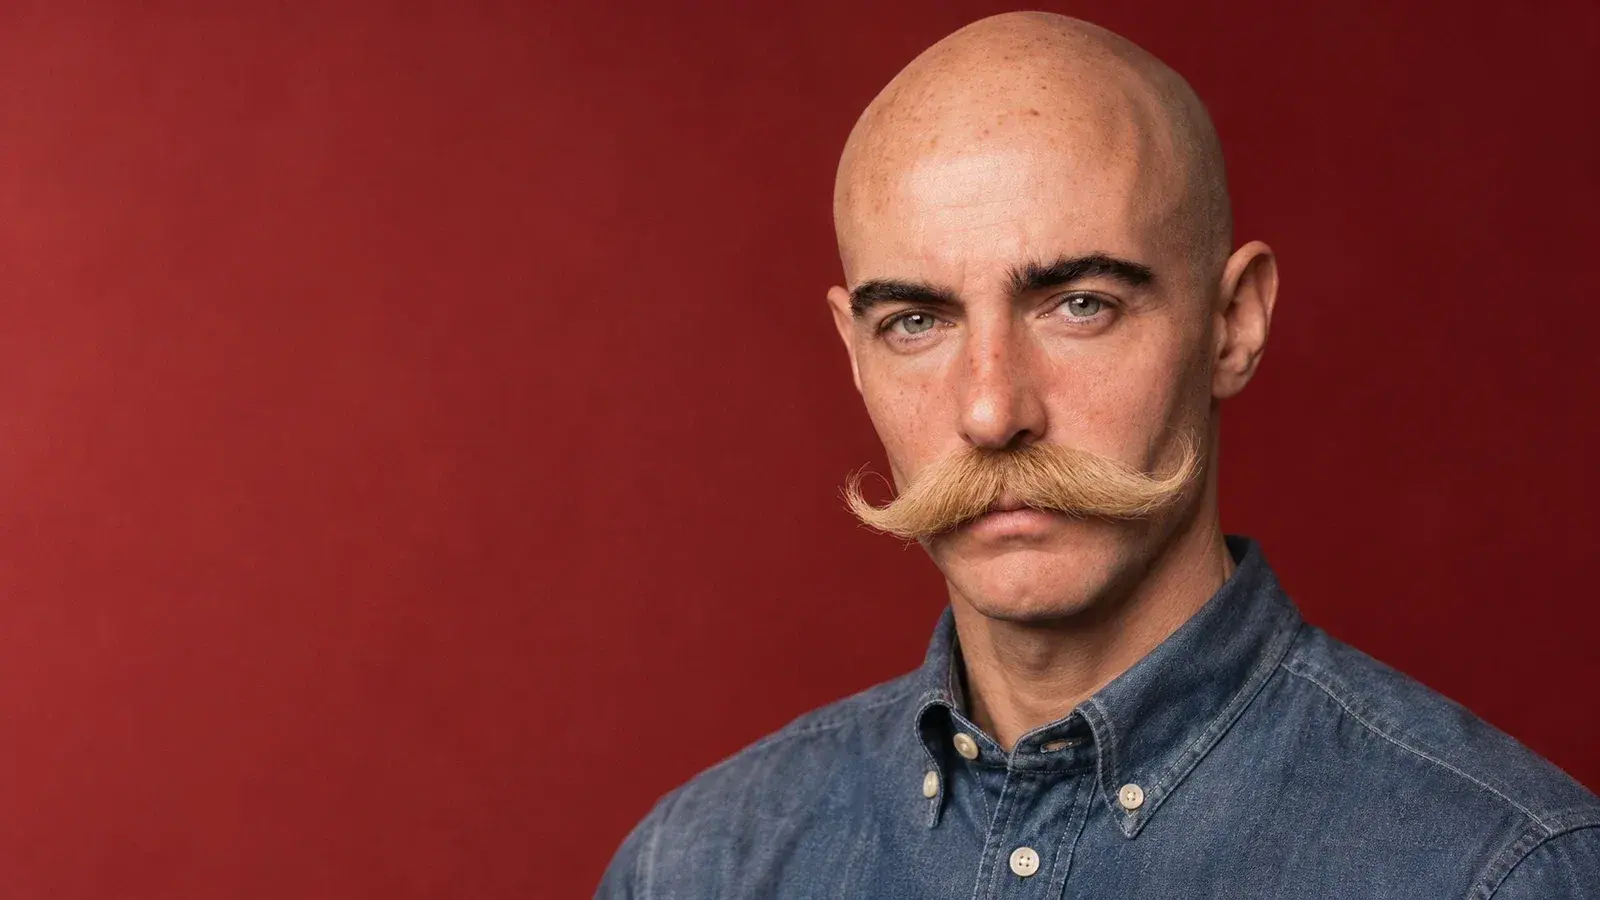
In an imagined portrait of Callum Reid against an evenly lit paper backdrop, the open side can continue a gentle tone gradient. If the scene has a corrugated wall, the extra width has more to account for. Look where the deck meets the wall and where the spacing of the ribs changes with perspective. An edit can match the colour on both sides of a join while leaving a bend in the deck edge or an extra rib at the wrong interval. Review both the seam at full size and the whole image at its intended display size.
Keep control of the overlap
Put the original above the generated extension and align it without scaling or rotating. A narrow overlap gives you somewhere to blend, but keep it away from the face, hair, clothing seams and any object whose shape matters. You can use a layer mask to reveal the extension gradually in the background while keeping the original opaque over the subject. If an arm meets the old frame edge, the new image has to invent part of the arm or preserve the cut. That is a creative decision to review explicitly. A cleaner starting crop or a plain border can be the more faithful choice.
For a check before compression, work with the same colour settings and place a copy of the aligned original over the composite at full opacity in Difference mode. Identical pixels appear black in the area where two opaque layers overlap. A bright outline across the whole portrait can indicate a slight misalignment rather than a changed feature. Check the alignment and colour handling first, then inspect any differences around the face and garment. A visible difference inside the intentional blend can be acceptable. A changed collar or hairline outside it needs a decision before delivery.
Review what the wider frame now says
Keep the layered original and make the delivery export from the approved composite. A final JPEG may change individual pixel values through compression, so use the editable composite or a lossless export for the equality check. Before sending the image, review the larger scene for anything the extension introduced that would change what a viewer thinks happened. A quiet wall behind a character asks less of the audience than a newly invented shop sign, location or person. The Journal's piece on image provenance looks at what readers can learn about the history of a file.
If the next step is animation, review the framing for the intended video format as a separate decision. For a continuing artificial identity, the face, clothing and other details the creative team has agreed to preserve are part of the source. New space should serve the layout while those details remain available for the next image.